
Views: 0 Author: Site Editor Publish Time: 2026-07-24 Origin: Site


Decorative acoustic panels can turn a plain surface into an architectural feature, but an attractive arrangement does not begin with choosing a fashionable color. The wall position, panel scale, room proportions, reflected sound, lighting, and surrounding furniture all affect the result. A successful acoustic wall covering should look integrated rather than added as an afterthought. The following approach explains how to select the right surface, create a balanced composition, coordinate materials, and avoid installation decisions that weaken either the visual effect or the room’s acoustic comfort.
Begin by identifying what the room needs acoustically and visually. A meeting room may need clearer speech, a home office may need fewer reflections around the desk, and a media room may need a calmer listening environment. Look for broad, hard surfaces facing other hard surfaces, especially around conversation areas, loudspeakers, desks, and shared work zones. These are usually more useful locations for an acoustic wall covering than narrow sections hidden behind cabinets or curtains.
Acoustic panels primarily manage reflected sound within a room. They are not automatically a substitute for a wall assembly designed to stop airborne sound from passing between rooms. Sound absorption and sound transmission are measured differently, so a decorative treatment intended to reduce reverberation should not be described as complete soundproofing. Wall finishes, acoustic felt, and other absorptive materials can help control reverberation, while transmission control normally depends on the construction of the partition itself.
After locating useful treatment areas, consider the main sightlines. The wall behind a reception desk, conference table, sofa, bed, television, or workspace often carries more visual weight than a passage wall. Placing an acoustic wall covering there gives the treatment a clear architectural role. It also makes it easier to align the panel composition with furniture rather than covering disconnected patches simply because space is available.
Measure the visible wall after accounting for skirting, cornices, doors, windows, sockets, switches, screens, shelving, and fixed furniture. Photograph the wall straight on and sketch the major elements to scale. This simple step reveals awkward strips, off-center layouts, and difficult edge conditions before installation. It also helps determine whether the acoustic wall covering should occupy the full surface, form a centered feature, or connect several functional zones.
Panel shape changes how people perceive the wall. Repeating geometric tiles create rhythm and movement, while larger relief panels create shadow and depth. Vertical wood slats emphasize height and introduce a warmer architectural character. The best format depends on the room’s scale, design language, available wall area, and the amount of visual activity already present.
For a graphic feature, Diamond Acoustic Tiles can be rotated and combined to form chevrons, zigzags, arrows, gradients, or larger diamond motifs. The polyester-fiber panels use a modular diamond format that is particularly helpful when an acoustic wall covering must follow an angled composition or introduce several coordinated colors without relying on printed graphics.
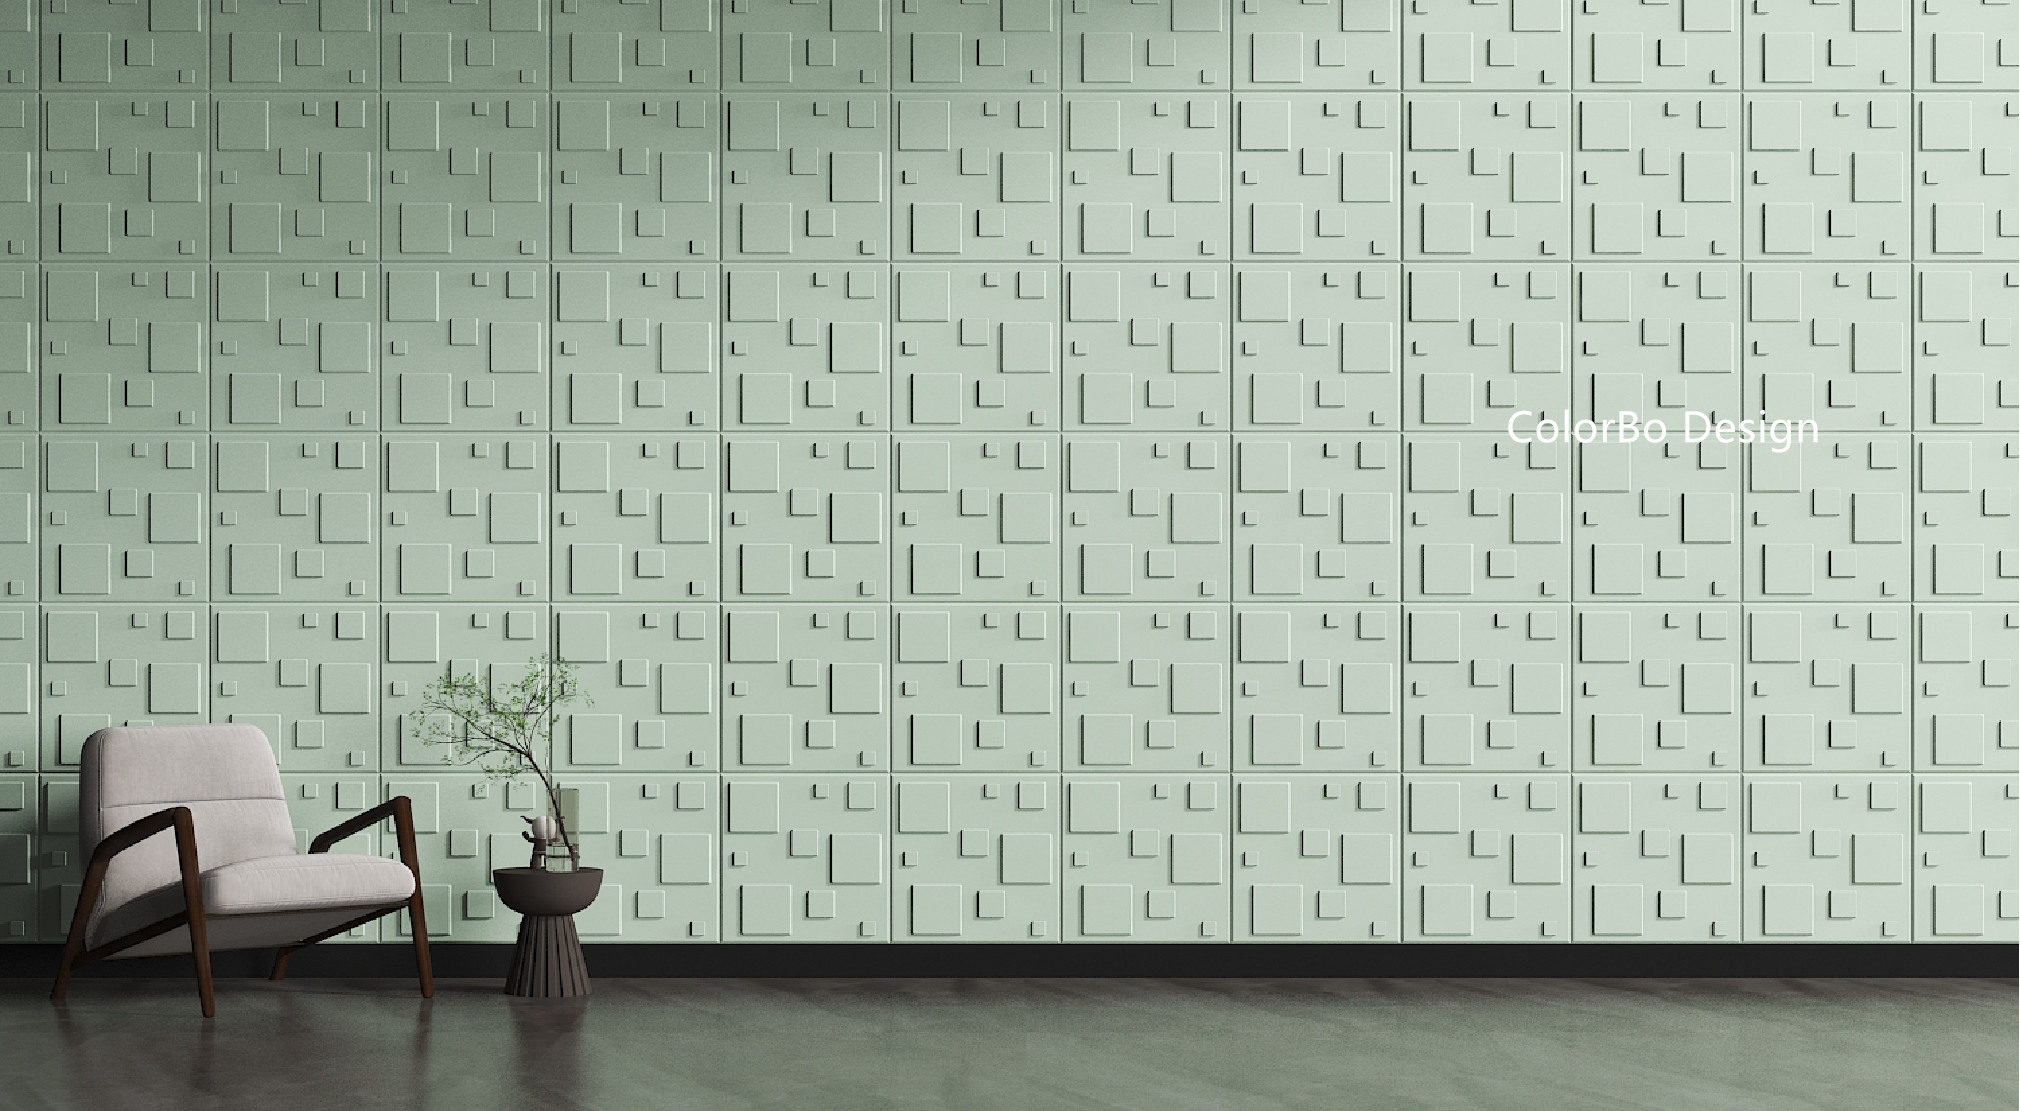
Relief surfaces provide a different effect. 3D PET Wall Panels use a square format with a raised geometric face. Because light reaches the raised and recessed areas at different angles, the wall gains depth even when one color is used. This makes the format suitable for restrained interiors where the acoustic wall covering should feel detailed without becoming visually noisy.
For interiors built around natural finishes, Wood Slat Acoustic Panels combine a veneered slatted surface with an MDF base and PET acoustic backing. Their linear appearance can visually extend a low wall when installed horizontally or increase the impression of height when installed vertically. The repeated dark gaps also create a strong contrast, so the surrounding floor, doors, cabinetry, and furniture should be considered before selecting the direction and finish.
Panel Direction | Visual Effect | Suitable Design Approach | Detail to Check |
|---|---|---|---|
Small geometric modules | Energetic and customizable | Feature walls, color patterns, and creative offices | Pattern alignment at edges |
Large 3D squares | Sculptural and calm | Reception areas, lounges, and meeting rooms | Shadow consistency under lighting |
Vertical wood slats | Taller and more architectural | Living rooms, offices, and media spaces | Alignment with doors and corners |
Horizontal wood slats | Wider and more relaxed | Long walls and low-ceiling spaces | Joints across multiple panel lengths |
A full-wall installation produces the strongest sense of permanence because the acoustic wall covering reads as a finish rather than an accessory. It works well on uninterrupted walls and in rooms where the treated surface should become the main backdrop. However, full coverage is not always necessary. A carefully proportioned area behind a sofa, bed, television, conference table, or desk can feel equally intentional when its boundaries relate clearly to the furniture.
For a partial installation, avoid choosing dimensions independently of the room. A panel field that is only slightly wider than a sofa may appear cramped, while an arbitrary rectangle can seem disconnected from everything around it. Extend the acoustic wall covering beyond the main furniture group or align its outer edges with nearby architectural features. Consistent relationships between panels, furniture, lighting, and openings create more visual order than simply centering every object on the wall.
Geometric modules should be planned as a complete pattern rather than installed one tile at a time without a reference drawing. Start from the center when symmetry is essential, but begin from a controlled edge when alignment with a doorway or cabinet is more important. Test rotations and color distribution on the floor first. A dry layout helps detect unintended stripes, clusters, and repeated sequences that may not be obvious in a small digital rendering.
An asymmetric composition can work when the imbalance is purposeful. For example, a concentration of panels behind a desk can expand toward a side seating area, visually connecting two functions. A diagonal transition can direct attention toward a screen or architectural feature. The untreated area should still look deliberate, with a clean boundary and enough negative space to prevent the acoustic wall covering from appearing unfinished.
Transitions require particular attention. At an outside corner, decide whether the pattern will wrap around or stop before the edge. Around windows and doors, narrow cut pieces may weaken the design, so adjusting the entire grid can be preferable. At ceilings and floors, consistent margins often look calmer than irregular gaps. These decisions should be included in the drawing before panels are cut or adhesive is applied.
Color selection should begin with the room rather than the product sample. Identify the dominant neutral, the secondary material, and one or two accent colors already present in flooring, upholstery, joinery, curtains, or branding. An acoustic wall covering can repeat these tones for continuity or introduce a controlled contrast. Using too many unrelated colors often makes the treatment feel temporary, especially when the panel pattern is already complex.
A monochromatic design does not have to look flat. Combining lighter and darker tones from the same color family can reveal the module pattern without overwhelming the room. Geometric tiles can use a gradual transition from dark to light, while 3D panels can rely on shadows rather than multiple colors. In commercial spaces, accent colors are usually more effective when concentrated in selected areas instead of distributed evenly across the entire acoustic wall covering.
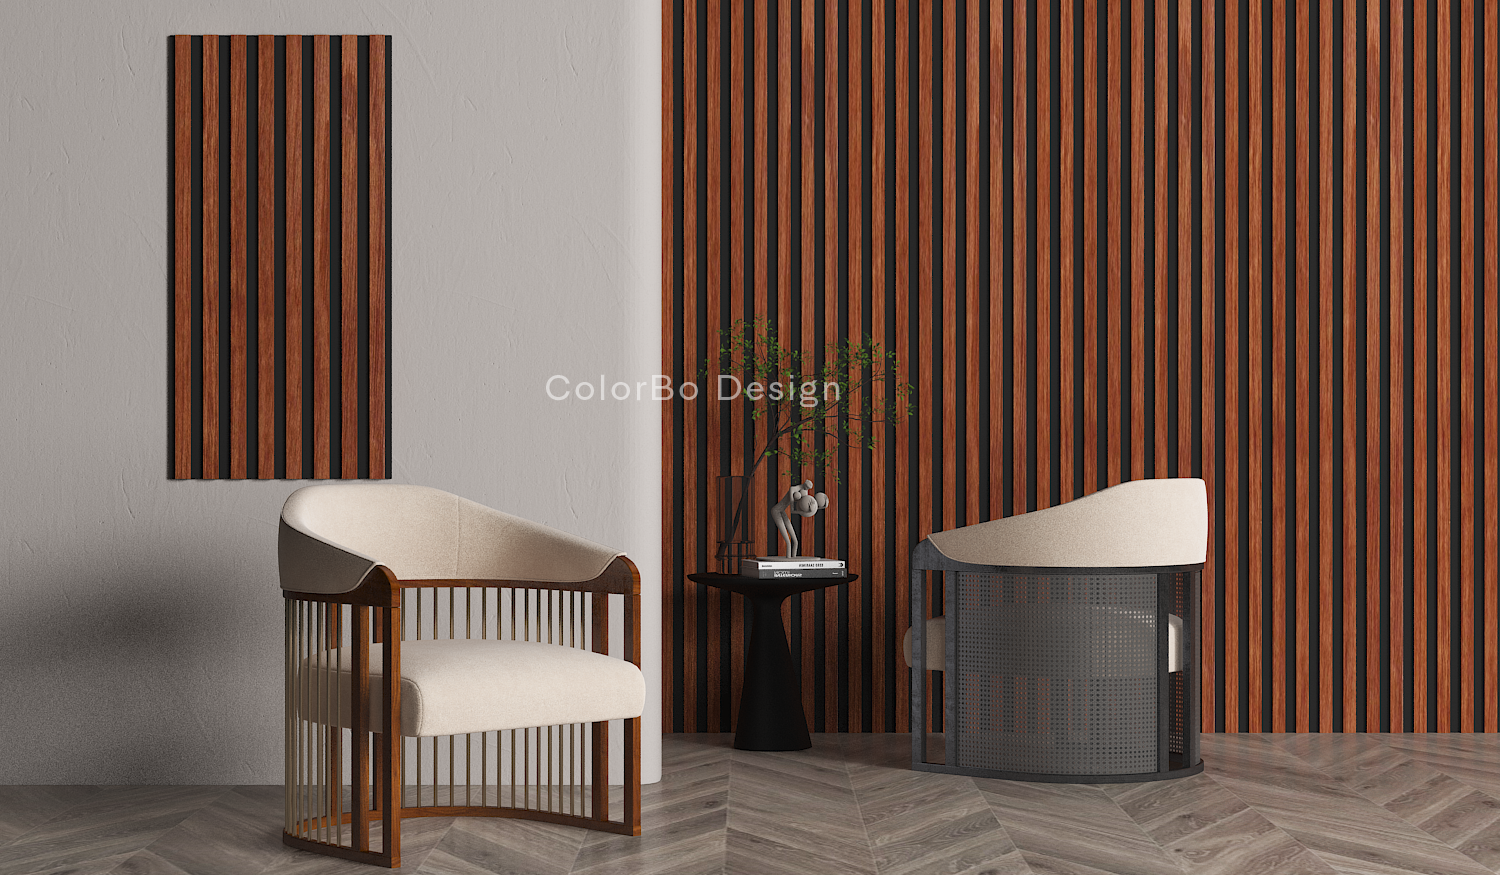
Texture should also respond to adjacent materials. PET felt can soften rooms dominated by glass, metal, polished stone, and painted plaster. Wood slats can connect the acoustic treatment to timber flooring or furniture, but an exact wood match is not always necessary. Closely related undertones generally matter more than identical grain. A warm reddish veneer placed beside cool gray oak, for example, may look less coordinated than a contrasting black or neutral finish.
Lighting has a major influence on relief and slatted surfaces. Grazing light from above or the side emphasizes depth, while broad frontal light reduces shadows and makes the surface appear flatter. Before final installation, view samples under the room’s actual daytime and evening lighting. The acoustic wall covering may look significantly warmer, cooler, darker, or more dimensional than it did under showroom lighting.
Furniture and artwork should remain visually connected to the panel layout. Centering a desk or sofa against the treatment is one option, but alignment with a major seam, color block, or slat group can be equally effective. Avoid covering the most distinctive part of a pattern with a large screen or cabinet. Where shelves, signage, lamps, or artwork will be mounted, coordinate fixing points and cable routes before installation instead of drilling through finished panels without a plan.
Order or review physical samples before approving the final acoustic wall covering. Digital displays cannot reliably reproduce fiber texture, veneer variation, surface depth, or the way a color changes under local lighting. Place samples against the actual wall and compare them with flooring, painted finishes, and furniture. For multi-color layouts, inspect all selected colors together because two attractive samples can still conflict when installed side by side.
Create a numbered elevation drawing for modular arrangements. Mark panel orientation, color, cutting direction, outlet positions, and the installation sequence. Establish horizontal and vertical reference lines with appropriate measuring tools rather than relying on the floor or ceiling to be perfectly level. Beginning with a small alignment error can create noticeably uneven joints across a large acoustic wall covering.
The substrate should be clean, dry, stable, and suitable for the selected fixing method. Loose paint, dust, moisture, uneven plaster, or incompatible adhesive can cause movement or visible edge variation. Confirm how panels will be removed if access to wiring, controls, or maintenance points is required later. Installation planning should also account for local building requirements and the product documentation relevant to the intended space.
Do not cut every edge piece before checking the installed dimensions. Walls are rarely perfectly square, and small deviations can accumulate. Install the main field in a controlled sequence, measure edge pieces individually, and maintain consistent visible margins. Around sockets and switches, neat cuts and properly coordinated cover plates make the acoustic wall covering appear integrated with the building rather than placed over it.
The most common design mistake is treating acoustic panels as decoration alone. A beautiful composition placed far from reflective activity may deliver less practical value than a simpler treatment near the room’s primary sound and listening zones. The opposite mistake is ignoring appearance and distributing isolated panels wherever there is empty space. Effective acoustic wall covering balances useful placement, sufficient surface area, clear proportions, and an installation pattern that belongs to the interior.
Decorating with acoustic panels works best when sound control, wall proportions, color, texture, and construction details are planned together. The strongest acoustic wall covering is not necessarily the most colorful or the largest; it is the one positioned logically and composed as part of the room. Shanghai ColorBo Industrial Development Co., Ltd. is an acoustic materials manufacturer offering geometric PET tiles, three-dimensional panels, and wood slat constructions that support different decorative approaches. Careful sampling and layout planning help these formats improve acoustic comfort without weakening the interior design.
A: Yes. Full-wall coverage can create a more architectural appearance and increase the treated surface area, provided doors, outlets, corners, ventilation, and maintenance access are planned beforehand.
A: Prioritize broad reflective walls near conversation, work, presentation, or listening areas. The exact position should respond to room geometry, sound sources, furniture placement, and primary sightlines.
A: Acoustic panels mainly absorb reflected sound and reduce reverberation inside a space. Blocking sound between rooms usually requires changes to the wall, ceiling, floor, doors, or penetrations.
A: Two or three coordinated tones are often enough for a clear geometric pattern. More colors can work, but they require careful repetition, spacing, and coordination with existing finishes.
A: Vertical lines can make a wall appear taller, while horizontal lines emphasize width. The choice should also consider panel dimensions, joints, openings, furniture, and installation waste.